Aug. 21st, 2026

gelateria: (Default)

Splash patterns - advanced

This post is for when Standard Issue or Lock Set is not enough. New readers start at Splash patterns - start here, then Splash patterns - flow. Come here for Safety Lock, Cover Plate, and Front Panel.

Splash patterns - flow covers the two starter shells plus wrapper unlocking. If the theme and sticky are not set yet, that click-path is in the hub, not here.

Quick start

  1. Pick Safety Lock, Cover Plate, or Front Panel below.
  2. Copy the HTML block into a future-dated sticky entry (HTML mode, Disable auto-formatting on).
  3. Copy the matching CSS block into Customize > Custom CSS > Use embedded CSS.
  4. Test on your live journal, including mobile scroll and control strip overlap.

Overlay live checks

  • Comments are not reachable by scrolling the front page. That is expected on Cover Plate and Front Panel.
  • The page behind the cover should not scroll. If it does, the body lock is not applied.
  • Test on a phone. Fixed layers behave differently there.

Why not the old sticky fallback?

Current Safari, Chrome, Firefox, and Edge all support :has(). The older no-:has() sticky fallback hides every Recent entry, then tries to reopen whatever looks sticky. It cannot see the splash root, so it can hide the wrong entry, stay locked after you unstick the splash, and misfire if you have more than one sticky. If a very old browser is a hard requirement, that is a compatibility test, not a first splash. These posts do not give it as a sixth copy-paste shell.
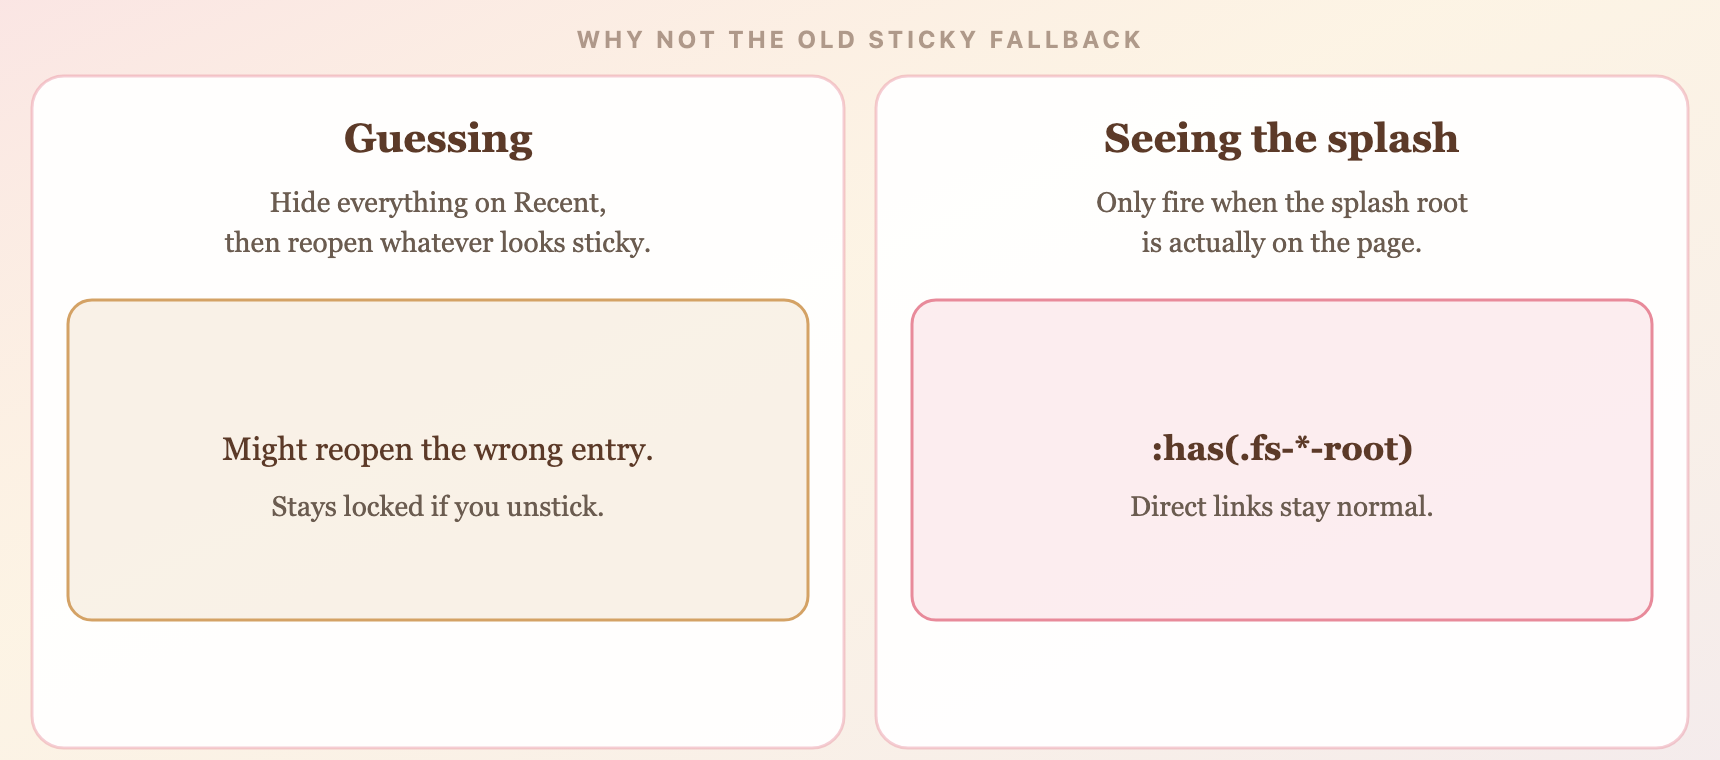
Guessing whatever looks sticky versus seeing the splash root class before hiding other entries.

The five public patterns can see the splash. The old fallback cannot.

Patterns in this post

Pattern Class prefix Best for
Safety Lock .fs-hyb-* Locked front page with the least fragile selector structure
Cover Plate .fs-fix-* Fixed full-screen overlay when wrapper unlock is not enough
Front Panel .fs-ent-* Self-contained overlay with minimal wrapper dependency
( Splash patterns - advanced: Safety Lock, Cover Plate, and Front Panel )
gelateria: (Default)

Splash patterns - flow

Two starter shells for a first splash on Dreamwidth. If you have not set the theme and sticky yet, read Splash patterns - start here first. The click-path lives there, not here.

This post covers Standard Issue and Lock Set. Splash patterns - advanced in this series covers Safety Lock, Cover Plate, and Front Panel.

Install reminder

Theme > Use embedded CSS > HTML fragment > sticky URL. The hub has the Customize click-path. If that is not done yet, stop here and finish it first.

Quick start

  1. Pick Standard Issue or Lock Set below.
  2. Copy the HTML block into a future-dated sticky entry (HTML mode, Disable auto-formatting on).
  3. Copy the matching CSS block into Customize > Custom CSS > Use embedded CSS. If you already have journal CSS, the splash stylesheet still goes in that slot as one complete block, not mixed into an old theme file.
  4. Test on your live journal. Local previews are helpful but not the final check.

Patterns in this post

Pattern Class prefix Best for
Standard Issue .fs-gel-* Landing page with the journal still underneath
Lock Set .fs-net-* Front page that hides other entries

The HTML and CSS for each pattern are a matched pair. Do not mix Standard Issue HTML with Lock Set CSS, or change a class prefix in one file without updating the other.

( Splash patterns - flow: Standard Issue and Lock Set )
gelateria: (Default)

Splash patterns - start here

This series is for people who have never built a splash page on Dreamwidth. You do not need to know the Customize screens yet. The rest of this post walks through them.

A splash page is a designed landing screen on your journal's front page - a character intro, a musebox menu, a game portal, a comm welcome screen - instead of the usual scrolling list of entries.

These posts give you five structural shells. They are not finished designs. Once the shell is sitting on your journal, you change the copy, colours, and links inside.

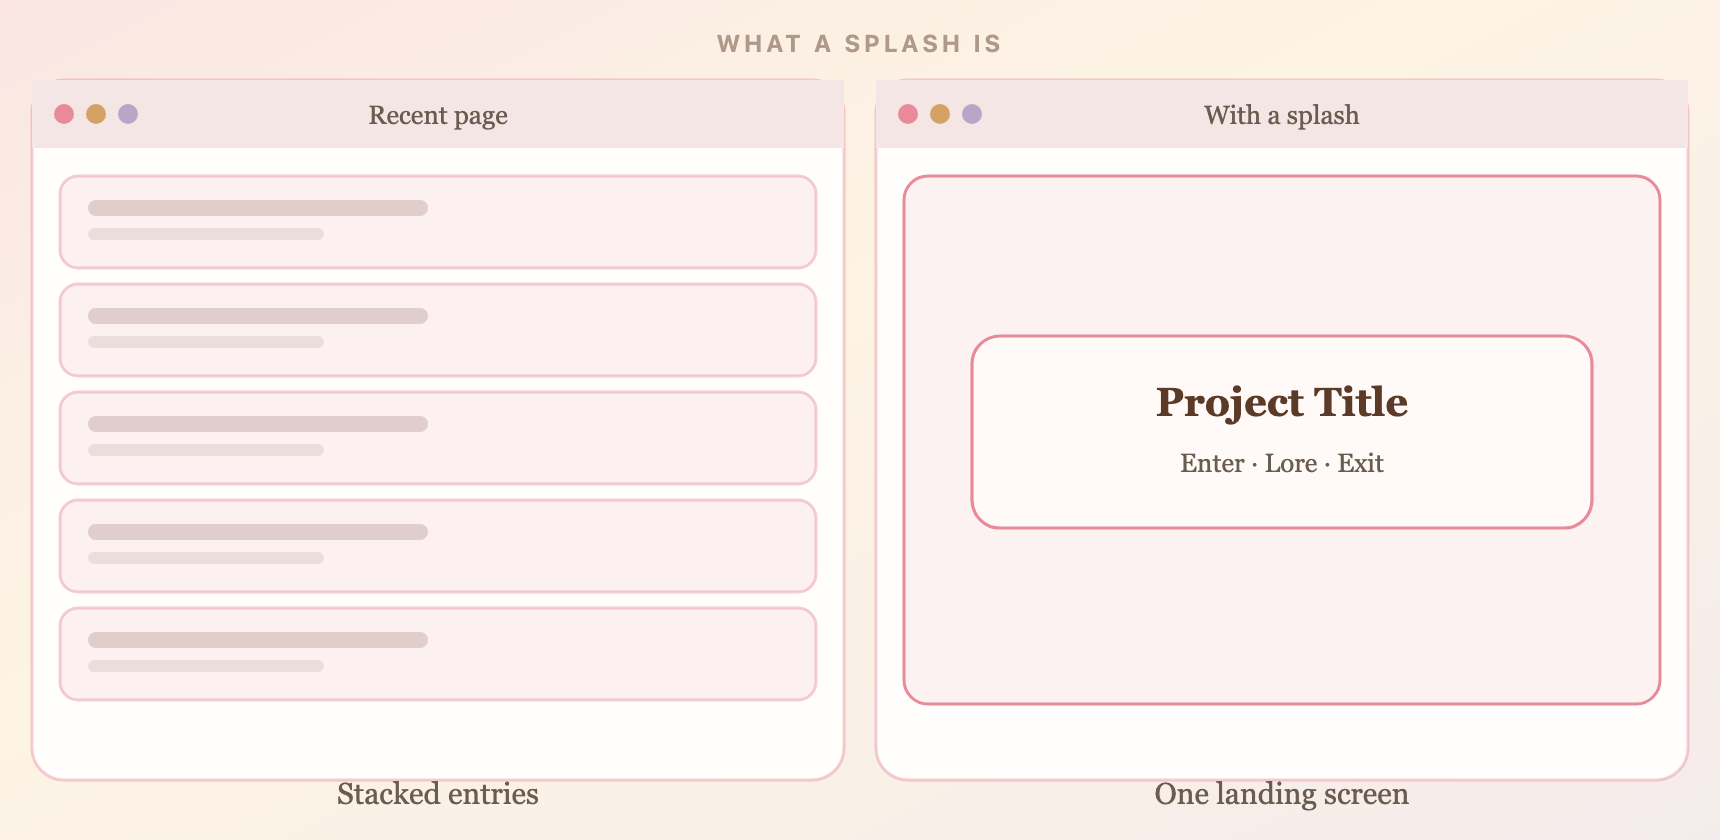
A splash is a landing screen

A normal Recent page stacks entries. A splash replaces that first impression with one designed screen.

A normal Recent page of stacked entries next to a splash landing screen with a title and three links.

Left: an ordinary journal front. Right: the same front with a splash.

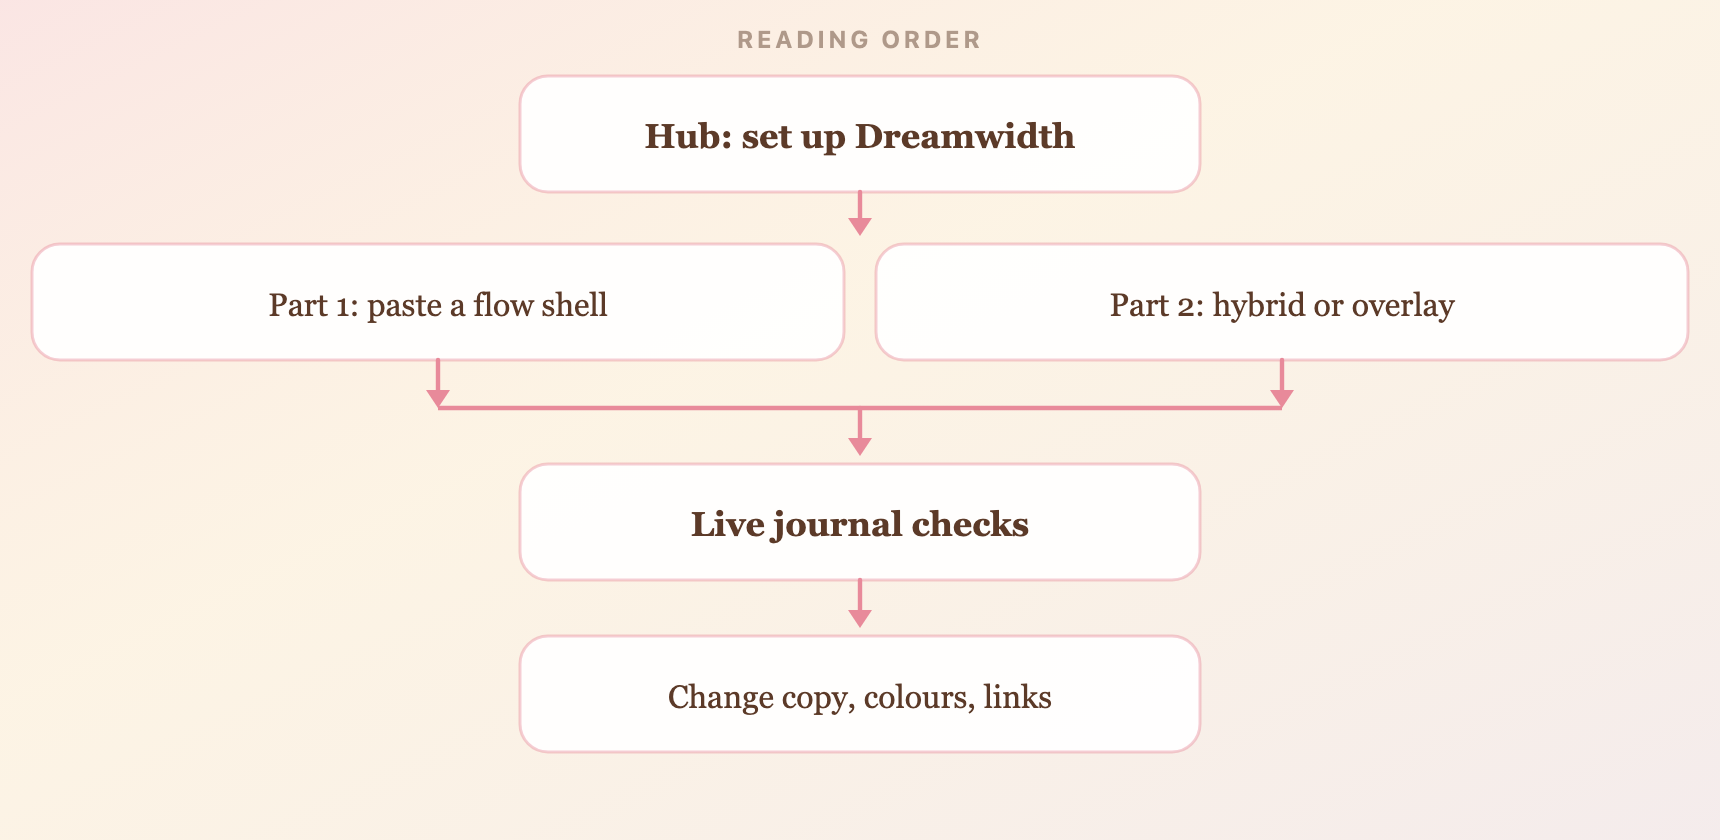
How to read this series

Set Dreamwidth up here, then paste a shell from Part 1 or Part 2. Check the live journal before you restyle anything.

Flow from the hub into Part 1 or Part 2, then live journal checks, then changing copy, colours, and links.

Hub first, then a shell, then live checks, then the design inside.

( Splash patterns: setup, paste surfaces, and pattern map )
gelateria: (Default)

Tabula Rasa CSS - the rest of the journal

Comments, other views, forms, and the small icons. Add this block after the layout CSS from Part 1, 2, or 3. It is grouped coverage, not a second theme.

Some selectors only exist on certain views. If a selector is missing from an audit, the view may not have been open. That is not proof the selector is invalid.

Install reminder

Keep comment indent on responsive. Paste this block after your layout CSS, or merge it into one saved stylesheet. Do not paste it on its own unless the page shell is already styled.

The hub still has the strip lists. The same silent-strip recovery steps apply.

( Tabula Rasa CSS - the rest of the journal: comments, views, icons, forms )
gelateria: (Default)

Tabula Rasa CSS - three columns

Two sidebars, as a complete path. This is the advanced column switch, not a requirement. If you only wanted one sidebar, you can stay on Part 2.

Choose three-columns-left, three-columns-right, or three-columns-sides. #secondary is sidebar one. #tertiary is sidebar two. Let Tabula Rasa place them.

Install reminder

Change the layout setting first. Put modules in sidebar one and sidebar two. Keep typography in the same font tokens so the third column does not add a second font host.

If a column is missing, the layout setting does not match the page you think you are on.

( Tabula Rasa CSS - three columns: arrangements, widths, and density )
gelateria: (Default)

Tabula Rasa CSS - two columns

The sidebar path, at the same level of detail as one column. Read Tabula Rasa CSS - start here if the theme is not set, and Tabula Rasa CSS - one column if you still want the reading-column walkthrough.

Switch the layout first. Then style #secondary. The sidebar uses the same font tokens. It does not need a second remote font request.

Install reminder

In Customize Your Style, set the layout to two columns left or two columns right. Place modules in sidebar one. Keep the default stylesheet on. Tabula Rasa already knows how to float the columns.

If there is no sidebar on the page, the layout setting has not changed yet. CSS cannot invent #secondary.

( Tabula Rasa CSS - two columns: sidebar, modules, and reading width )
gelateria: (Default)

Tabula Rasa CSS - one column

A beginner baseline for a one-column Tabula Rasa journal. If the theme and CSS slots are not set yet, read Tabula Rasa CSS - start here first. The click-path lives there, not here.

This post paints the reading column: tokens, page shell, header, entries, and room for the control strip. Sidebars wait for the next post.

Install reminder

Tabula Rasa, Plain, 1 column. Layout stylesheet on. Comment indent set to responsive. Journal CSS in Use embedded CSS. Fonts, if you want them, in Custom stylesheet URL.

The hub has the Customize click-path. If that is not done yet, stop here and finish it first. Tabula Rasa CSS - start here also has the strip lists and the recovery steps.

( Tabula Rasa CSS - one column: tokens, page shell, and entry cards )
gelateria: (Default)

Tabula Rasa CSS - start here

This series is for people who have never written a Dreamwidth journal stylesheet. You do not need to know the Customize screens yet. The rest of this post walks through them.

A journal stylesheet is the CSS that sits on top of Tabula Rasa and paints the page: colours, type, spacing, entry cards, sidebars, comments. These posts give you a beginner baseline, not a finished theme.

Start with Tabula Rasa, the Plain preset, and 1 column. Keep the layout stylesheet on. Then pick the post that matches the journal you actually want.

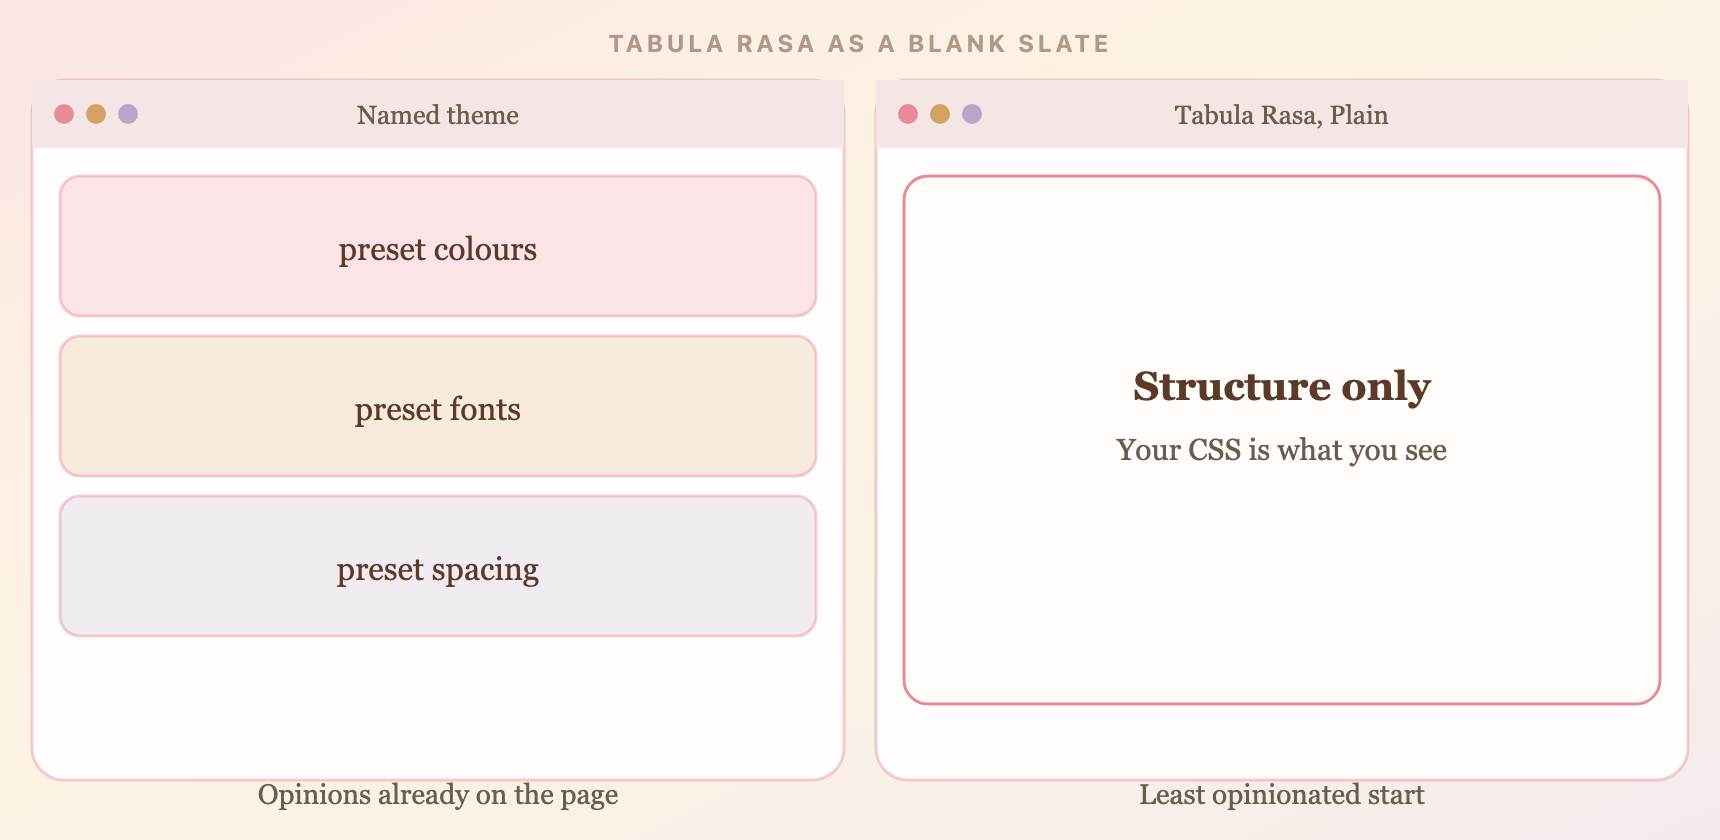
A stylesheet sits on a blank slate

A named theme already has opinions. Plain Tabula Rasa is mostly structure: boxes, columns, and defaults. Your CSS is then the look you see.

A named theme with preset colours, fonts, and spacing next to Plain Tabula Rasa, which shows structure only.

Left: a theme that already decided. Right: the blank slate these posts start from.

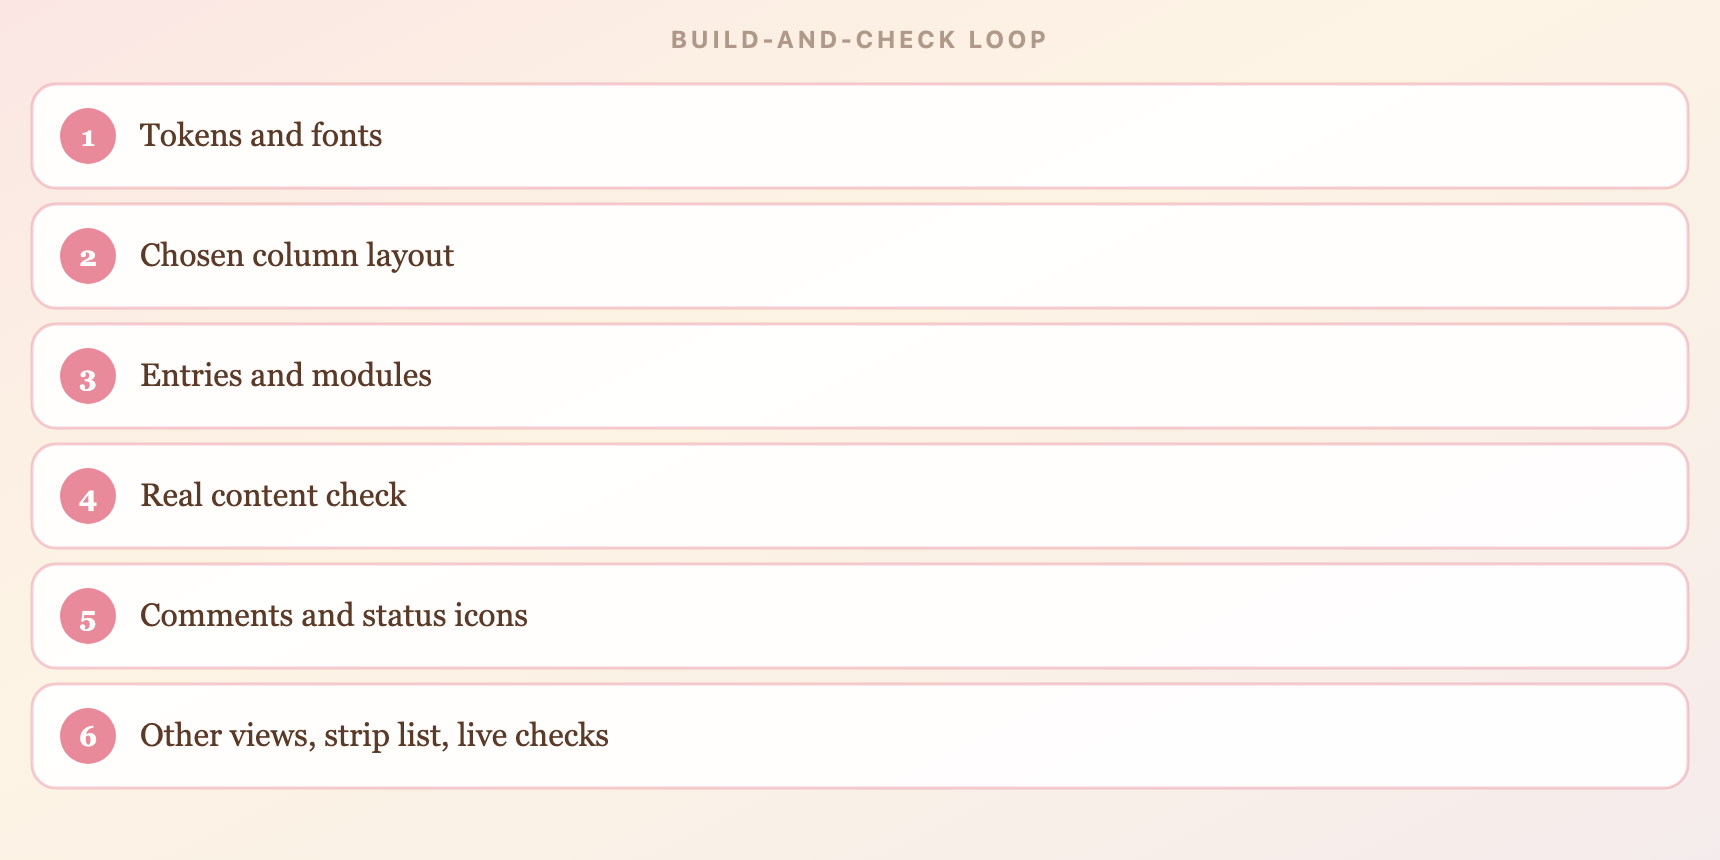
How to read this series

Set Dreamwidth up here. Then open the post for your layout. Check the live journal against real entries before you restyle anything.

A six-step loop: tokens and fonts, chosen column layout, entries and modules, real content, comments and status icons, then other views and live checks.

Tokens, then the column layout, then the reading page, then the rest of the journal.

Tabula Rasa CSS - one column | Tabula Rasa CSS - two columns | Tabula Rasa CSS - three columns | Tabula Rasa CSS - the rest of the journal

( Tabula Rasa CSS: setup, paste surfaces, and common mistakes )